"The Model A is widely considered to be the world's best grand piano under 6 feet.
Although it's Mason & Hamlin's smallest grand piano, the Model A has an enormous volume and tone that are comparable to instruments of much greater size. With Mason & Hamlin's patented Tension Resonator and other design innovations, the Model A is perfect for professional studios, conservatories and other institutions, yet just as suitable for the home."
-Mason & Hamlin
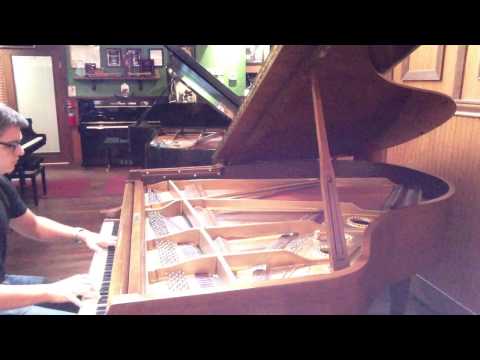
This is the Mason & Hamlin model A that I regulated and tuned this past week!
The A's cabinet. (By the way, that's Walt Disney's sister Ruth's player piano in the background...)
The A's action before any work was completed.
As was mentioned when I wrote about the Steinway K52 (see below), the first major steps to preparation and regulation of any piano starts with a good cleaning of the whole case (here already completed by a colleague and close friend Jorge Barrios) and of the action itself. Below, one can see that both the "stack" or action and keys have been removed from the keyframe. Then, it gets vacuumed.
Vacuuming the keyframe.
McLube for the glides on the underside, and for the front rail/center rail key pins.
Next is the bedding of the keyframe. This is where, with the stack placed and screwed down (sans keys), and the keyframe is slid back into the case. Bedding is crucial in having a secure "bed" for the pianos keys to be played upon. If the keyframe is not bedded correctly, there will be some quite obnoxious knocking of the keyframe to the keybed.
To make sure that doesn't happen, a common practice is used, where slips of paper are arranged beneath the glides of the keyframe (see below). Then, as one tightens or loosens the glides, the correct amount of pressure upon said pieces of paper can be felt as one slides them back and forth underneath the glides. This process takes a bit to get down, but it is critical in creating a secure foundation for the keyframe to the keybed.
Bedding the keyframe.
After the frame is bedded, the keys need to be leveled and squared. This is the same process as the upright, but it involves using key weights on the backchecks to represent the weight of the stack when it's resting upon the keys.
Key weights used for leveling keys.
Key weights are on.
The unleveled keys.
The leveled keys.
The next process involves working on the grand action itself. The first step is to rub Teflon on the knuckles of the hammers with a smaller hammer.
The stack upright.
The stack, ready for Teflon.
The Teflon powder.
Using a hammer to rub the Teflon powder in.
Next is the process of shaving the hammers. Below is the gist of what happens during this process. The first photo shows those grooves where the hammers hit the piano strings. This causes the piano to sound brighter over time, as the felt of the hammer gets compacted more and more with each note that is played. Hammer shaping helps voice the piano to a less harsh tone, and creates a fresh surface to hit the piano strings with.
These grooves need to be eradicated!
Shaping hammers and wearing a mask... the dust contains so much stuff!
The aftermath of hammer shaping.
Fresh hammers!
Next, I'll be lining up the hammers so that they all are equidistant from the strikepoint on the piano strings. Below you can see how uneven they are... and how level they can be!
An uneven hammer-line.
The process of leveling the hammer-line.
Next is a lengthy process of regulating the action within the piano case. This includes regulating let-off, drop, dip, and the backchecks. These next few steps are quite tough to photograph, so I'll just show the magical tool which is the one pictured below. It shows me the standard measurements of hammer-line, let-off, and even the backchecking distance. It's invaluable!
The golden grand regulating tool.
Time to tune it to A-440! This is by far my favorite part of the process.
Beginning the tuning process.